Select Your User-type
Instructions differ for Clever and Non-Clever users. Please follow the appropriate instructions for your user type. Clients that use Clever for single sign on, follow the instructions in the Clever Users section. Clients that do not use Clever for single sign-on, follow the instructions in the Non-Clever Users section.
Clever Users
Clients that use Clever for single sign-on must enter and edit all course, teacher, and student data directly through Clever and should not follow the instructions in the Non-Clever Users section. Changes such as these should not be made directly in MI Write. Although it is possible to make such changes directly in MI Write, all changes will be lost after the next Clever-MI Write data sync which typically occurs once daily. Clever data will sync with MI Write according to the preset sharing rules that are established in Clever.
Non-Clever Users
Manually Creating New Teacher Accounts
As a School Admin account holder, you have the ability to manually create accounts for new teachers. Note: If multiple new accounts are needed at once, importing a roster may be more efficient.
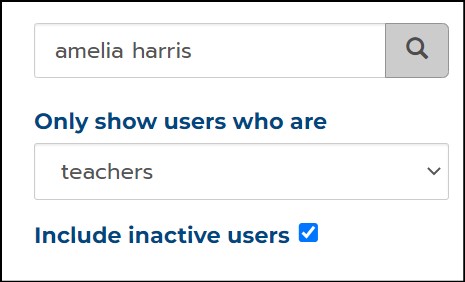
1. To manually create a teacher account, on the Users tab, enter the name of the teacher in the search bar to confirm that they do not already have an account.
- To filter by user type, make a selection in the Only show users who are drop-down menu.
- Check the Include inactive users checkbox to include users with inactive/disabled accounts in the search.
2. If no Active or Inactive/Disabled user is found in your search, click +Add and select Add Teacher from the drop-down menu.

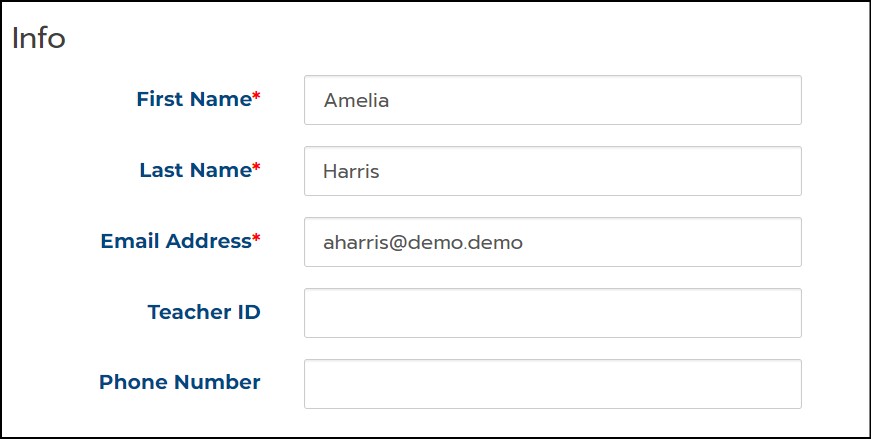
3. On the Manage User page, fill in the information. The required fields are indicated with a red asterisk.
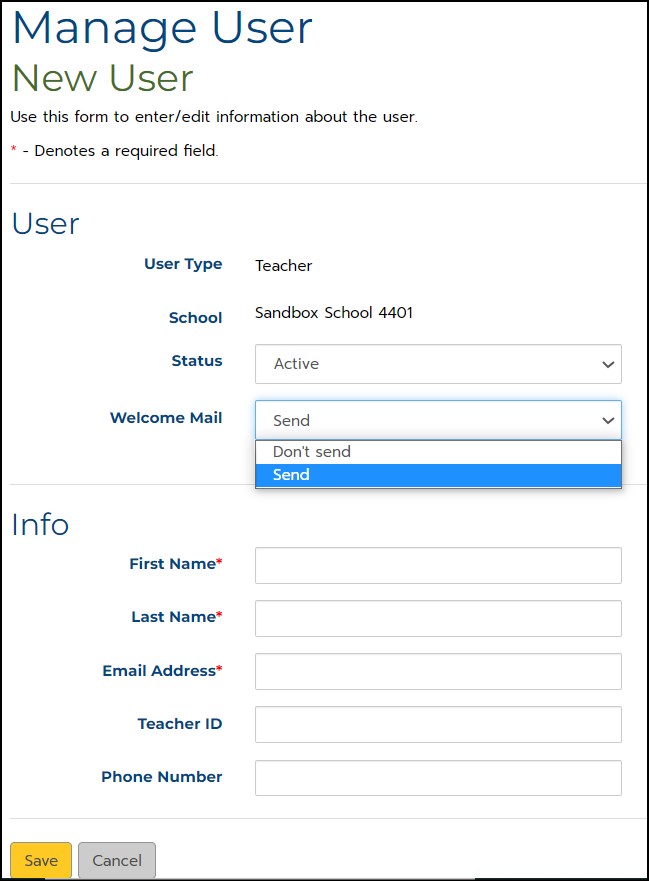
- In the Welcome Mail drop-down menu, selecting Send will email the credentials and log in instructions to the teacher.
- Note: Teacher usernames and passwords are automatically generated.
4. Click Save.
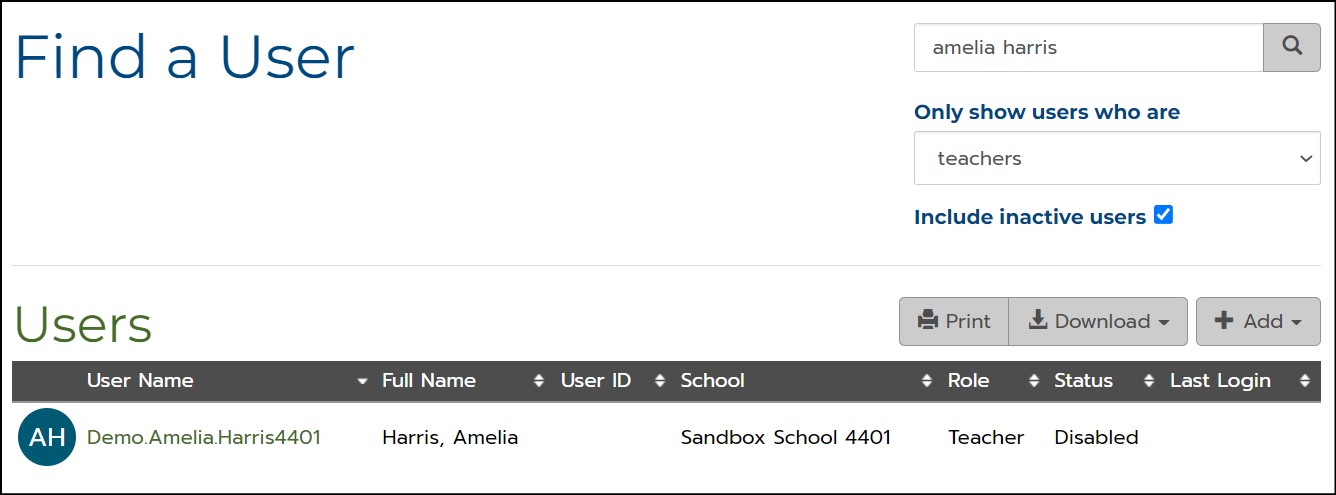
Inactive/Disabled User Found
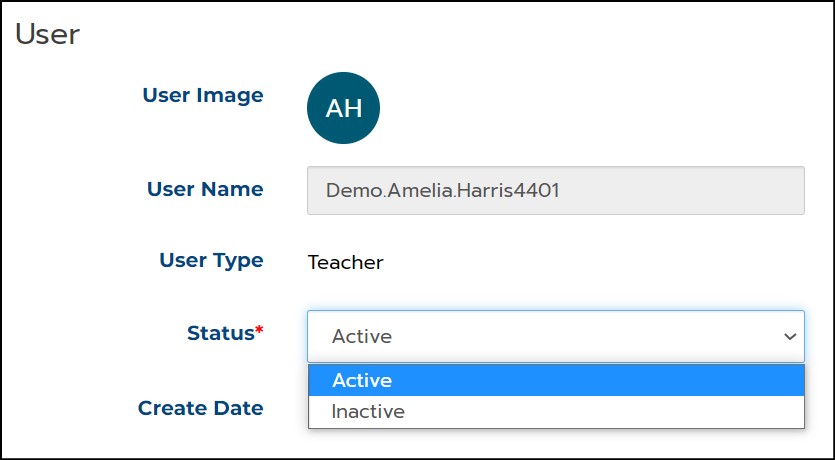
1. If an inactive/disabled user was found in your search, click on the username, displayed in green, in the User Name column.
2. To confirm that the inactive/disabled MI Write account is for the correct person, match the Name and Email Address in the Info section on the Manage User page.
3. If the name and email address for the inactive/disabled account match, in the User section, change the Status from Inactive to Active.
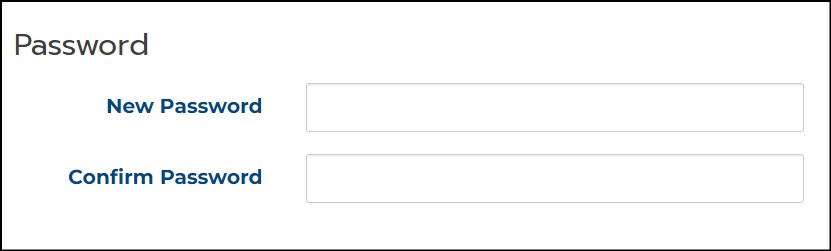
4. Create a new Password if necessary and provide it to the user.
5. Click Save.